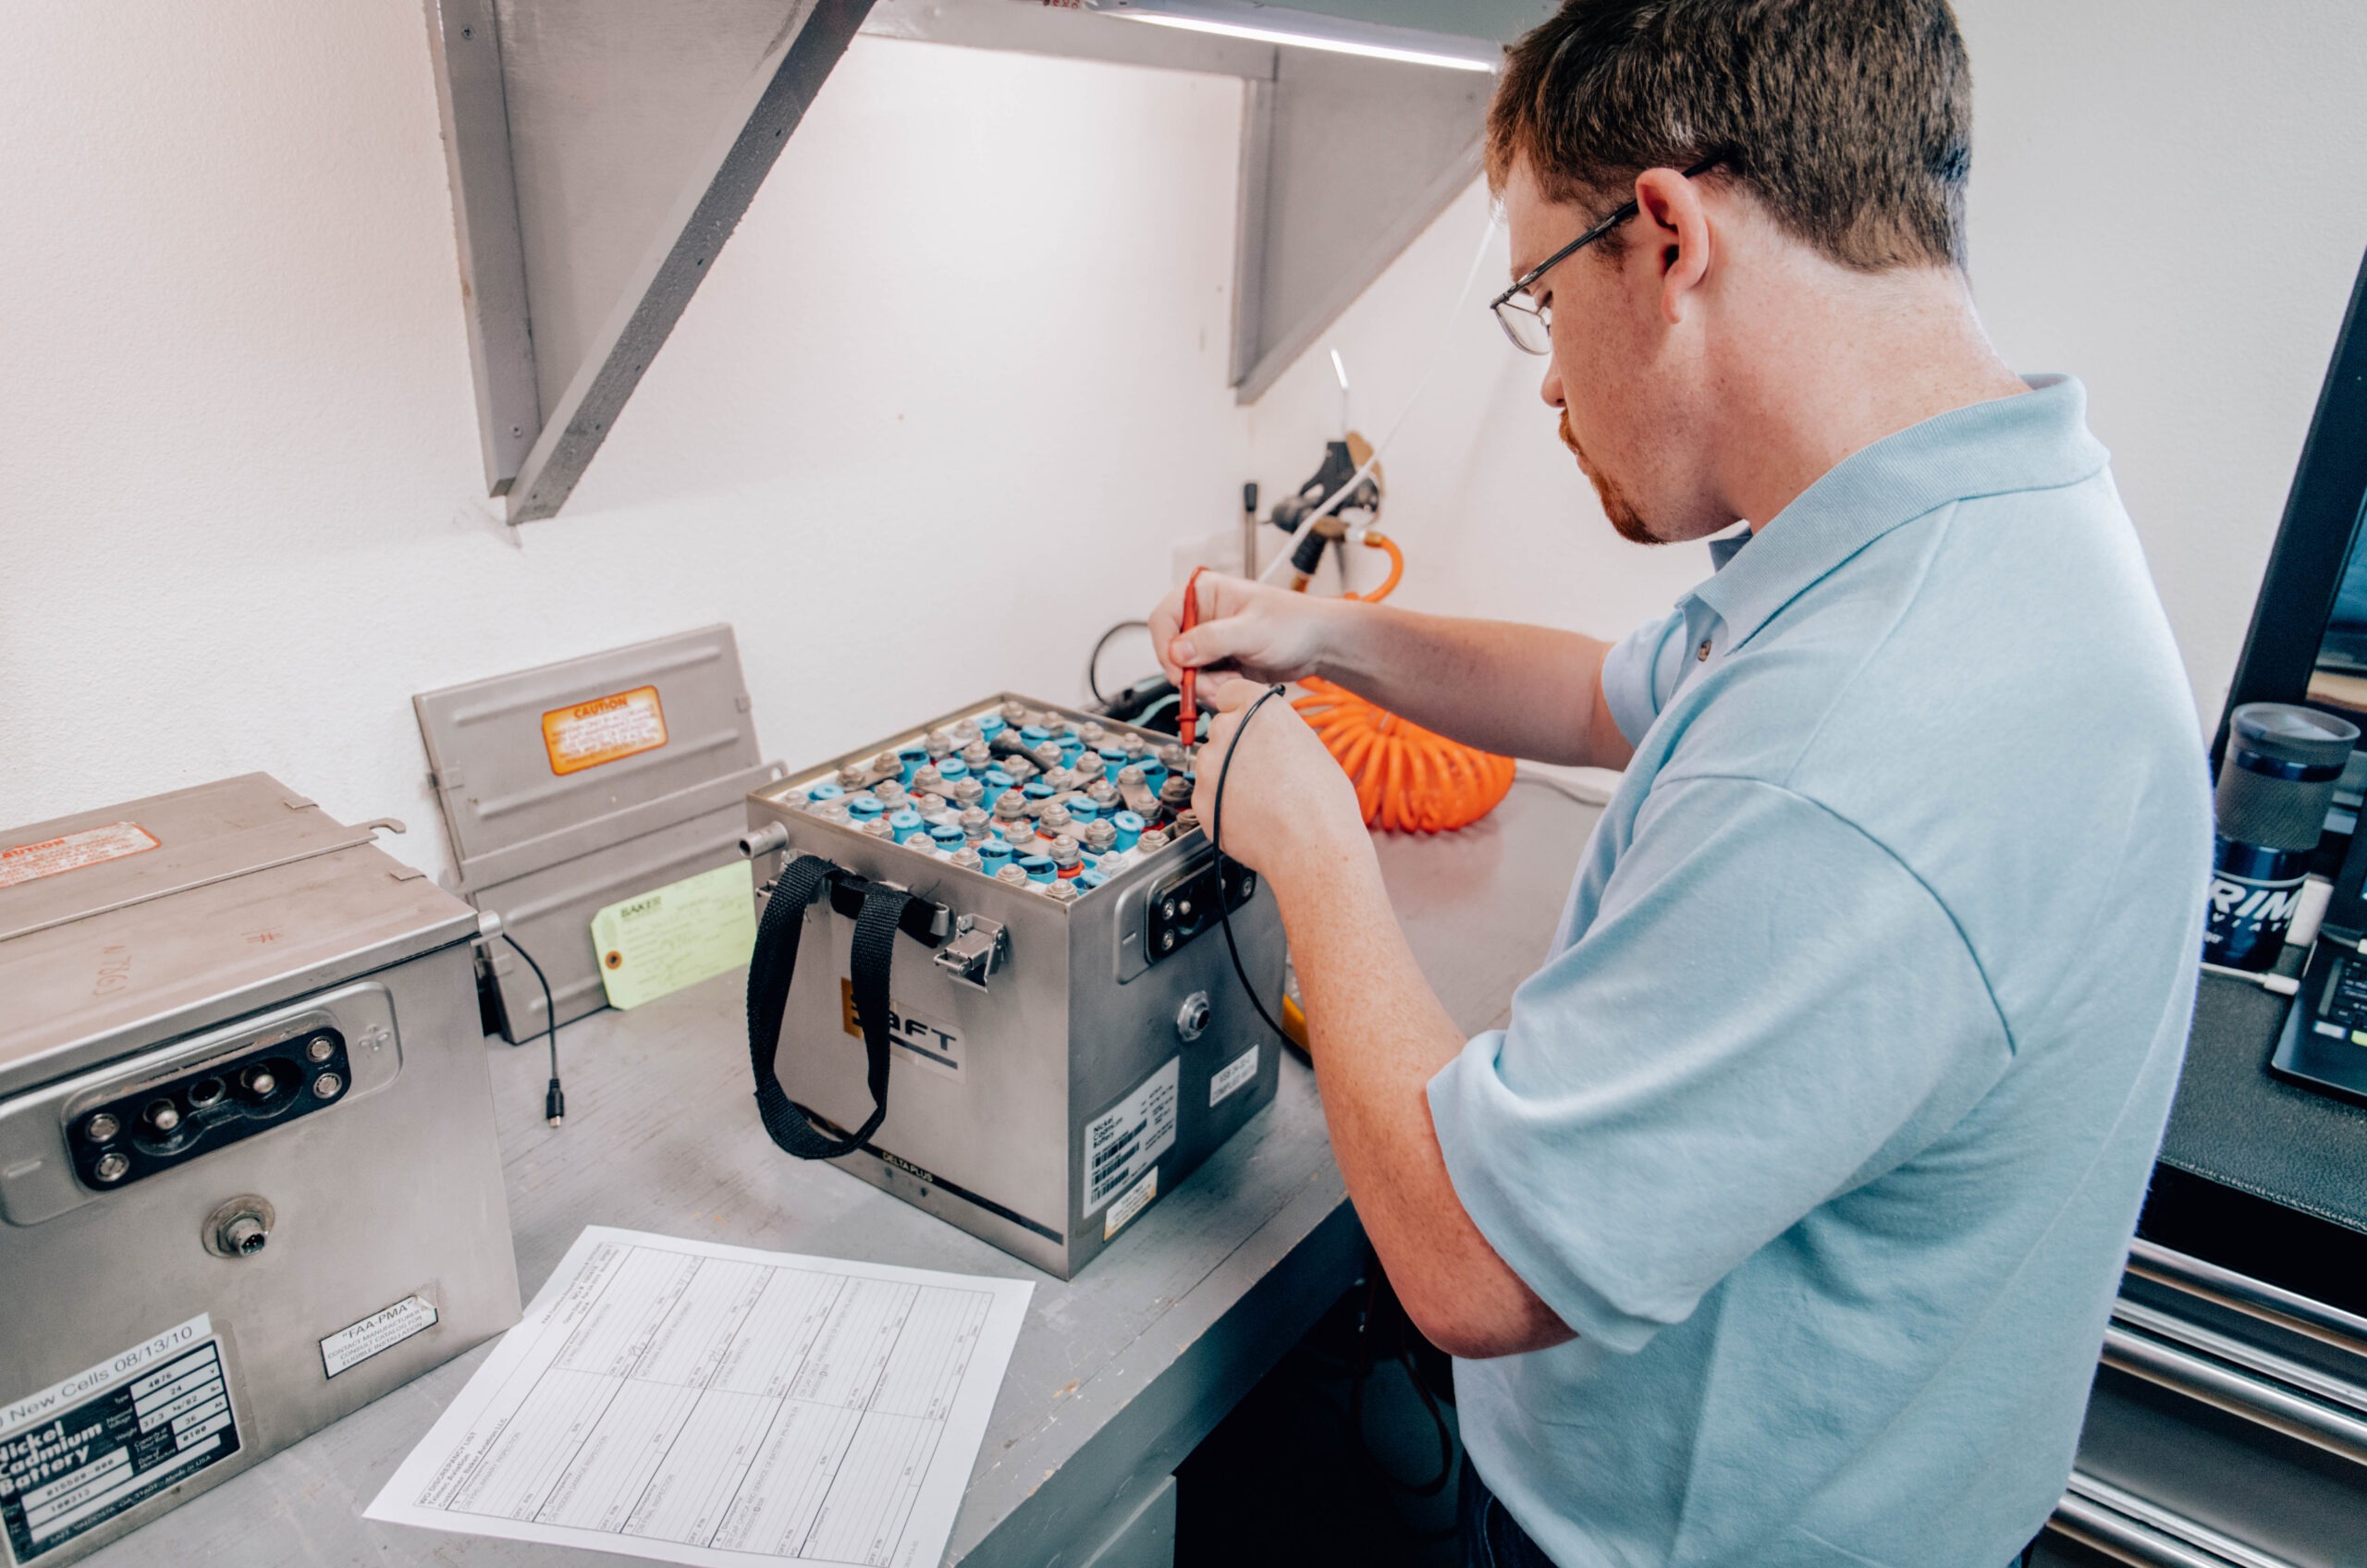
How to Install and Maintain Aircraft Batteries: A Complete Guide
Maintaining optimal performance in your aircraft begins with proper battery care. Aircraft batteries are crucial for starting engines, powering avionics, and supporting emergency systems. In this guide, we’ll walk you through the process of installing and maintaining aircraft batteries to ensure longevity and reliable performance.
1. Understanding Aircraft Batteries
Before diving into installation, it’s essential to understand the types of batteries commonly used in aviation. Most general aviation aircraft utilize lead-acid or lithium-ion batteries. Each type has unique installation requirements and maintenance protocols, so be sure to refer to your aircraft’s manual for specific details.
2. Tools and Equipment Needed
To ensure a successful installation, gather the following tools and equipment:
- Safety glasses and gloves
- Battery wrench or socket set
- Torque wrench
- Battery charger
- Battery tester
- Clean rags
- Baking soda (for neutralizing spills)
3. Installing Aviation Batteries
Step 1: Safety First
Always wear safety gear when working with batteries to protect yourself from potential acid spills and electrical shocks.
Step 2: Disconnect the Old Battery
If replacing a battery, start by disconnecting the negative (-) terminal first, followed by the positive (+) terminal. This helps prevent short circuits.
Step 3: Remove the Old Battery
Carefully lift the old battery from its compartment. If it’s heavy, ask for assistance to avoid strain or injury.
Step 4: Prepare the New Battery
Before installing the new battery, inspect it for any visible damage. Ensure the terminals are clean and free from corrosion. If necessary, use a wire brush to clean the terminals.
Step 5: Install the New Battery
Place the new battery in the compartment, ensuring it sits securely. Connect the positive (+) terminal first, followed by the negative (-) terminal. Make sure to tighten the connections securely but avoid over-tightening, which can damage the terminals.
Step 6: Final Checks
Ensure all tools are removed from the battery area and that the battery is securely installed.
4. Charging the Battery
Charging your aircraft battery correctly is crucial for its longevity. Use a battery charger that is compatible with your battery type.
- Lead-Acid Batteries: Charge at a slow rate (typically 10-20% of the battery’s amp-hour rating) to prevent overheating. Check the voltage periodically to avoid overcharging.
- Lithium-Ion Batteries: Follow the manufacturer’s instructions for charging, as overcharging can lead to battery failure.
5. Best Practices for Battery Care
Proper maintenance is key to extending the life of your aircraft battery. Here are some best practices:
- Regular Inspections: Check battery terminals and connections for corrosion or looseness regularly. Clean with a mixture of baking soda and water if needed.
- Charge After Use: Always charge your battery after flying, especially if you’ve had multiple starts or used avionics extensively.
- Storage Conditions: Store batteries in a cool, dry place. Extreme temperatures can shorten battery life, so keep them away from heat sources or extreme cold.
- Periodic Testing: Use a battery tester to check the state of charge and overall health of the battery. Replace it if you notice a significant drop in performance.
6. Conclusion
By following these installation and maintenance guidelines, you can ensure that your aircraft battery performs reliably when you need it most. Remember, regular checks and maintenance can prevent unexpected issues and prolong the life of your battery.
At Fly Gear Store, we offer a wide range of aviation batteries and accessories to meet your needs. For any questions or further information on aircraft battery maintenance, feel free to reach out to our knowledgeable team!

